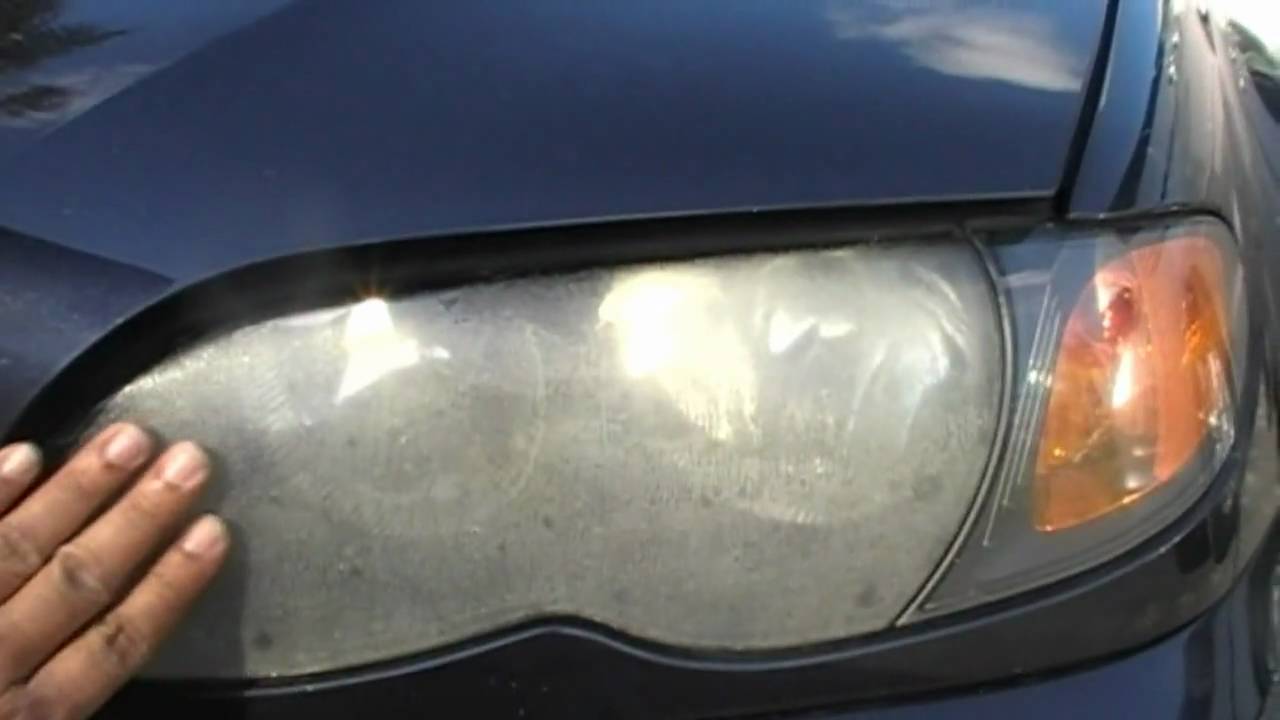
Are those plastic lenses that cover your headlights cloudy? It happens to all older cars after a while. It’s because they are made of polycarbonate plastic. Polycarbonate is a clear, hard plastic which is very popular with automotive engineers because it is perfectly clear and is very hard. However, polycarbonate will degrade over time and become cloudy. Let’s take a look at why this happens and describe some methods you can use to restore them.
Why does polycarbonate get cloudy?
The main reason polycarbonate plastcis get cloudy is due to their interaction with ultra-violet (UV) radiation. There are certainly other factors that contribute to lens degradation too, such as exposure to dirt, dust acid rain and such but UV radiation from the sun is the primary agent. If your car spends a lot of time covered in a garage, the lenses will stay clearer for a long time.
Restoring polycarbonate
Fortunately, polycarbonate headlamp restoration isn’t difficult. Basically what you do is remove a very small amount of the outside layer of the polycarbonate to expose the clear layers below.
We asked Thompson Hyundai of Baltimore, MD, a well-known Hyundai dealer about this and they suggested three methods, from easy to elbow-grease intensive, that should enable you to restore your polycarbonate lenses to like-new condition.
All-In-One cleaner – The least aggressive method of restoration is to use an all-in-one cleaner (AIO). These AIO headlight restoration kits are at most auto parts stores. They are simple to use. Typically you sand the headlight surface with very fine sandpaper and then wipe it with a chemical-impregnated applicator. In most cases this will be all you will need.
Plastic polish – If using an AIO fails to yield success, you can try a dedicated plastic polish. These products, also available at automotive parts stores, contain abrasives that remove the thin layer of your leness to reveal the clear plastic below. Using a plastic polish is quite straightforward and can be done by hand or with an orbital buffer.
Wet sanding and polishing – If your lenses are really cloudy, then prepare to get dirty because wet sanding and polishing is necessary. You will need some fine-grit wet/dry sandpaper (1000 and 2000 grit).
First, fill a bucket with some water and soak the sandpaper in the bucket for a few minutes prior to starting. Then take the 1000 grit sandpaper and sand the lens, side-to-side. After this, take the 2000 grit sandpaper and sand the lens top-to-bottom. What you will notice is that the lens will appear to clear up a little. The last step is to polish the lens with a buffer to really clear the polycarbonate. You can do this by hand but an orbital buffer is best. It will take some time but your lens will polish to a nice, clear finish. Keep at it if this doesn’t seem to be the case. It may take 15-30 mins per lens.
If by chance, you still can’t get your lens covers to clear up, then you probably need to buy new ones.
Image Source: youtube.com
Previous article
Variable Speed Turbochargers